【TIPS】Google Workspaceサブスク解約方法・キャンセル手順(図解でまるわかり)
エンジニアライフスタイルブログを運営しているミウラ(@miumiu06171)です。
普段はフリーランスでシステムエンジニアをしております。
今回は、Google Workspaceのサブスク解約方法・キャンセル手順をまとめてみました。
お名前.comの独自ドメインとGoogle Workspaceを連携している方に向けて、DNSのMXレコードの削除手順ものせていますので、ぜひ参考にしてみてください。
Google Workspaceサブスク解約方法・キャンセル手順
Google Workspaceのサブスクリプションを解約・キャンセルする方法を図解多数で紹介していきます。
Google Workspaceにログイン
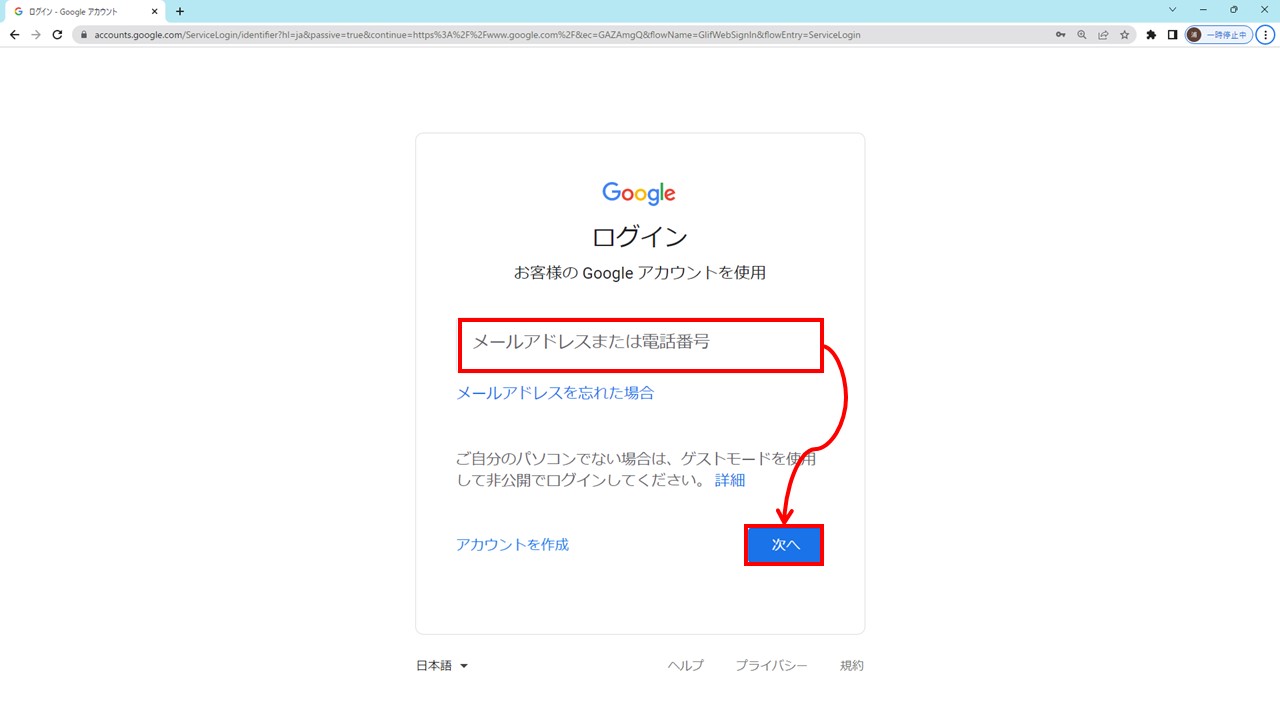
まずはGoogleへアクセスし、右上の「ログイン」リンクからGoogle Workspaceアカウントでログインします。
「ログイン」リンクをクリックすると、下図の画面になるので、Google Workspaceアカウントのメールアドレスを入力します。
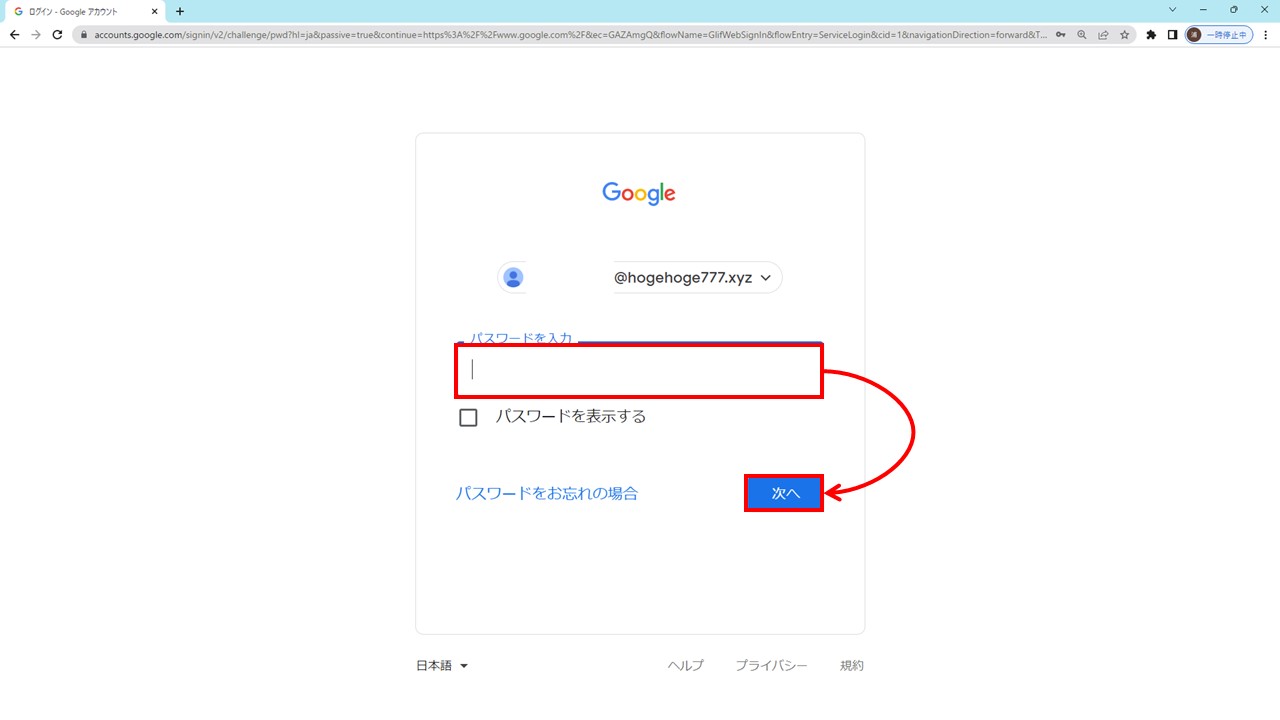
次にアカウントに対応したパスワードを入力し、「次へ」ボタンをクリックします。
Googleにログインが成功したら、右上のメニューアイコンから「管理」アイコンをクリックすると、Google Workspace管理画面を開くことができます。
お支払いのサブスクリプション画面を開く
Google Workspace管理画面が開けたら、次はサブスクリプション画面を開いていきます。
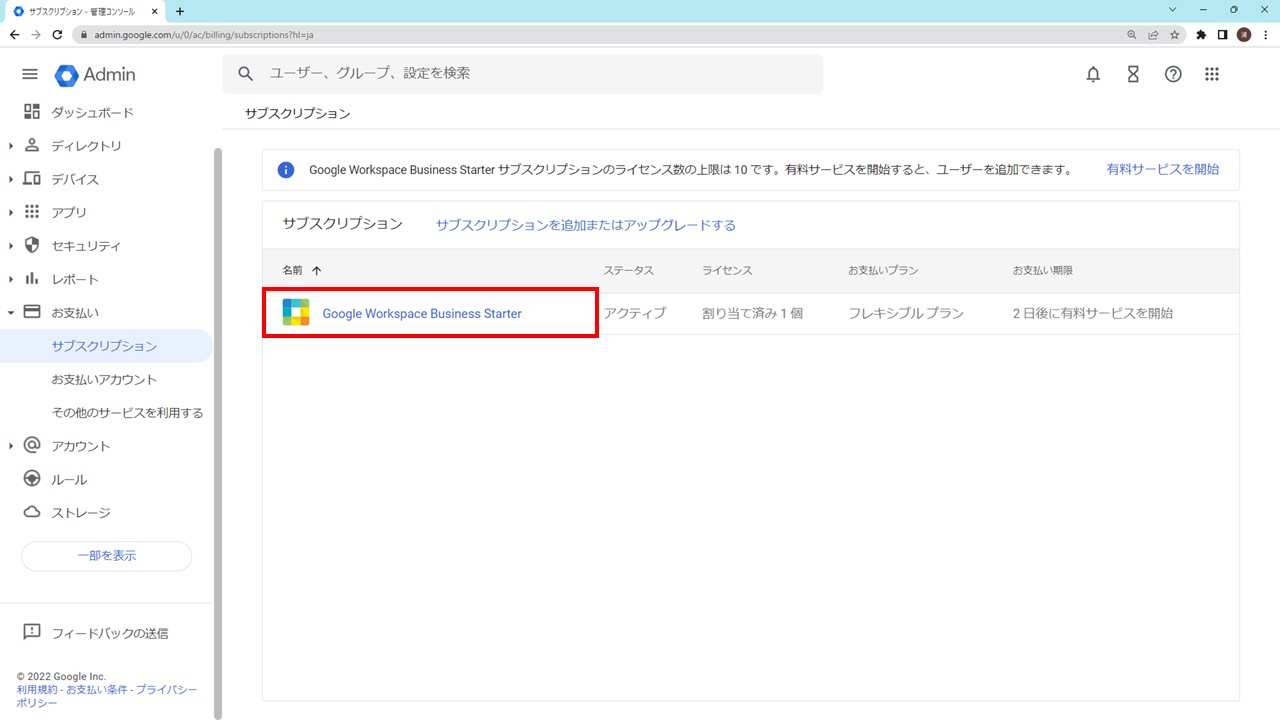
サブスクリプション画面は、下図のようにGoogle Workspace管理画面から「お支払い」メニュー→「サブスクリプション」をクリックすると、サブスクリプション画面を開くことができます。
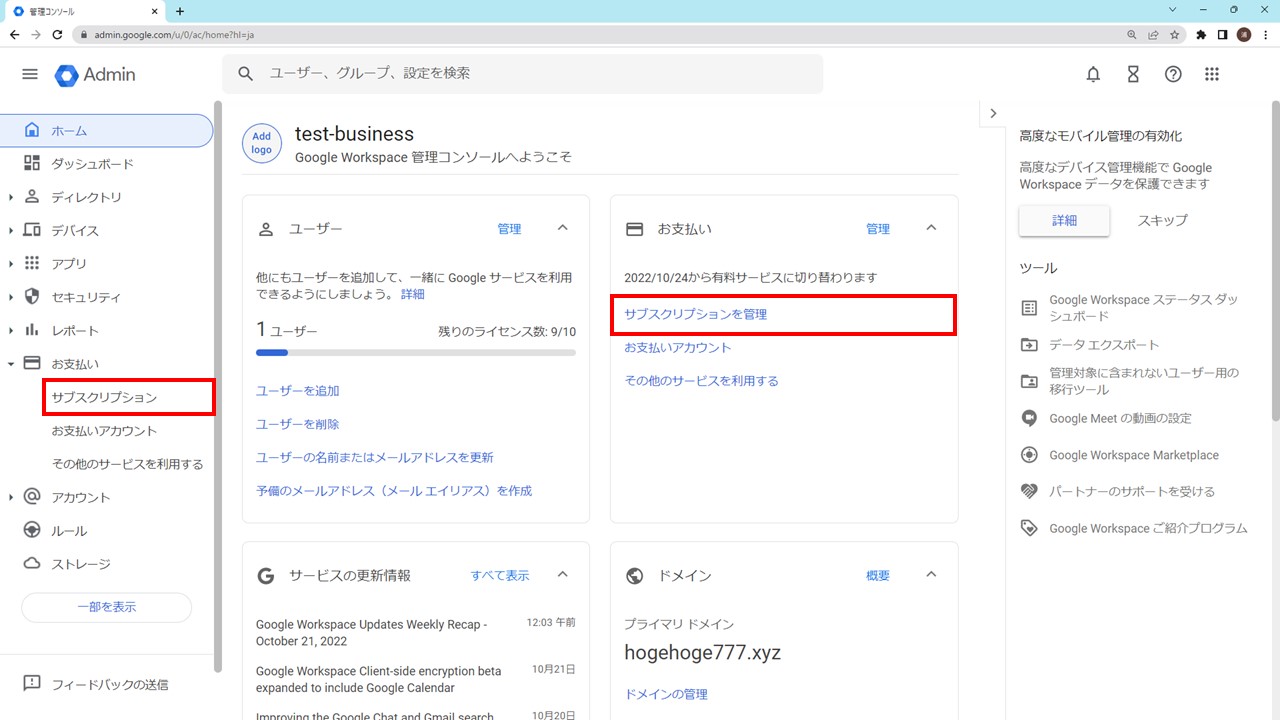
次に解約したいサブスクリプション名のリンクをクリックします。
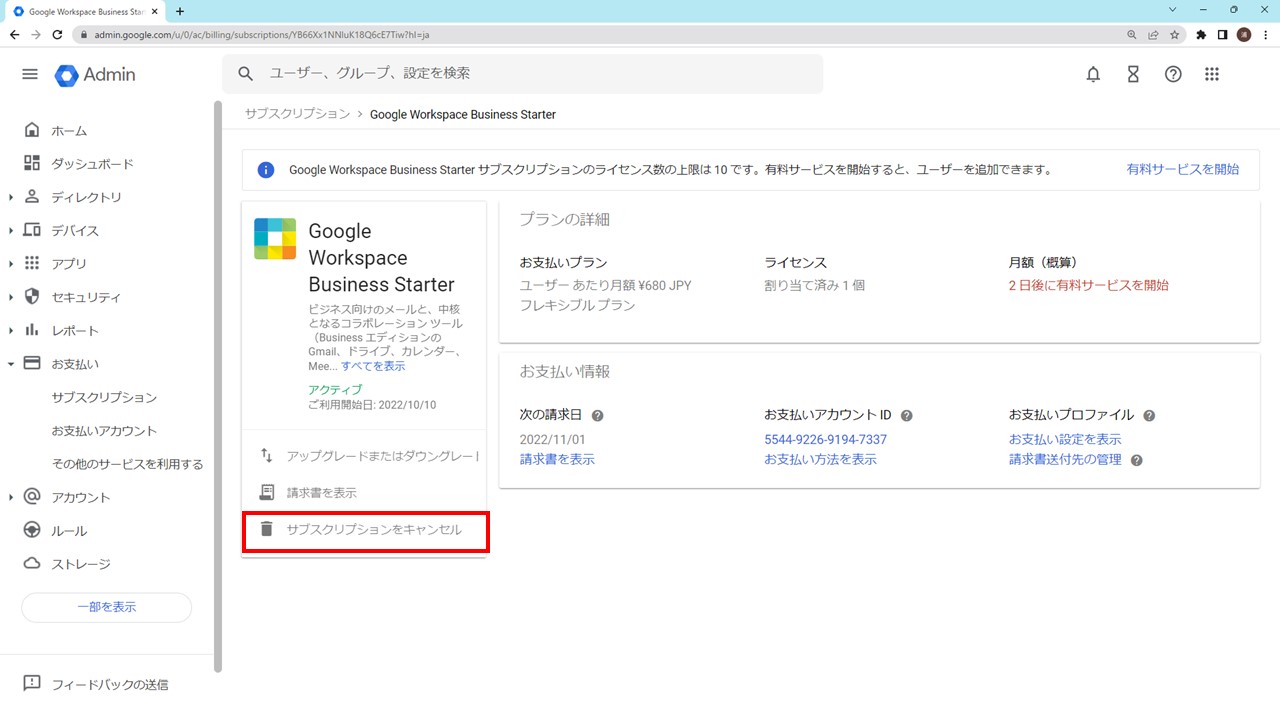
下図の画面になるので、「サブスクリプションをキャンセル」リンクをクリックします。
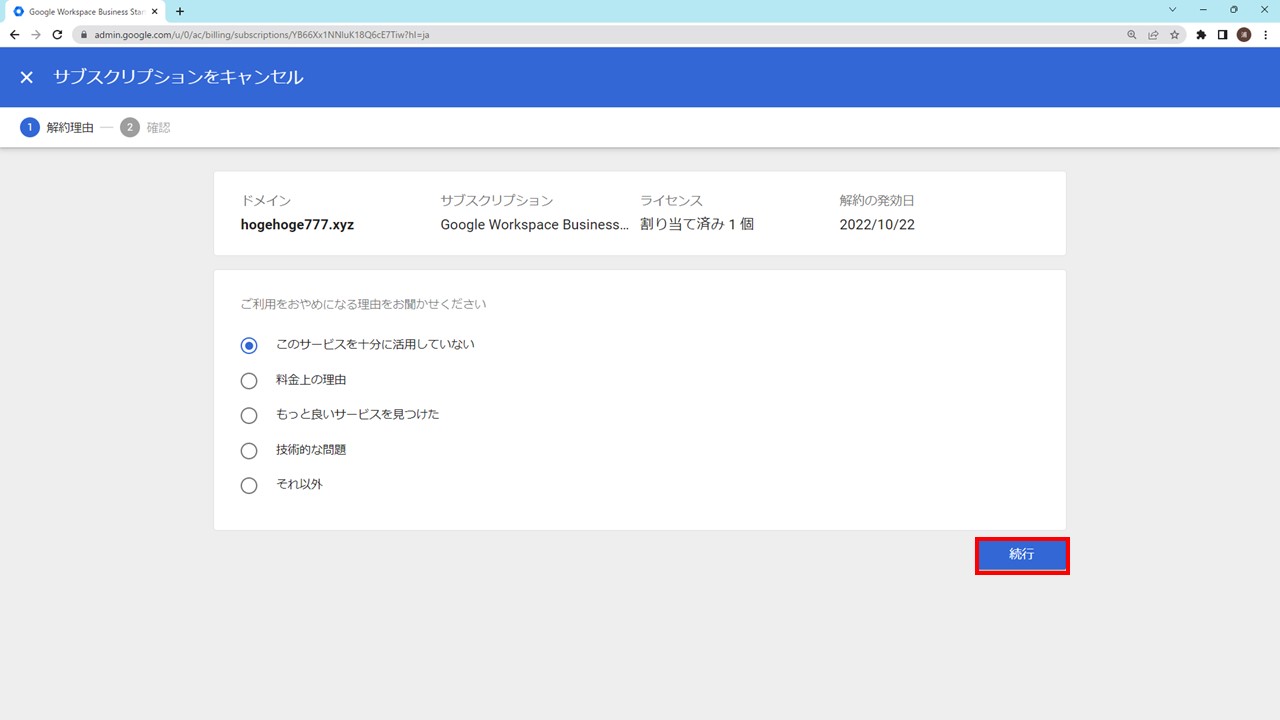
次に解約・キャンセルする理由を選択肢から選び、「次へ」ボタンをクリックします。
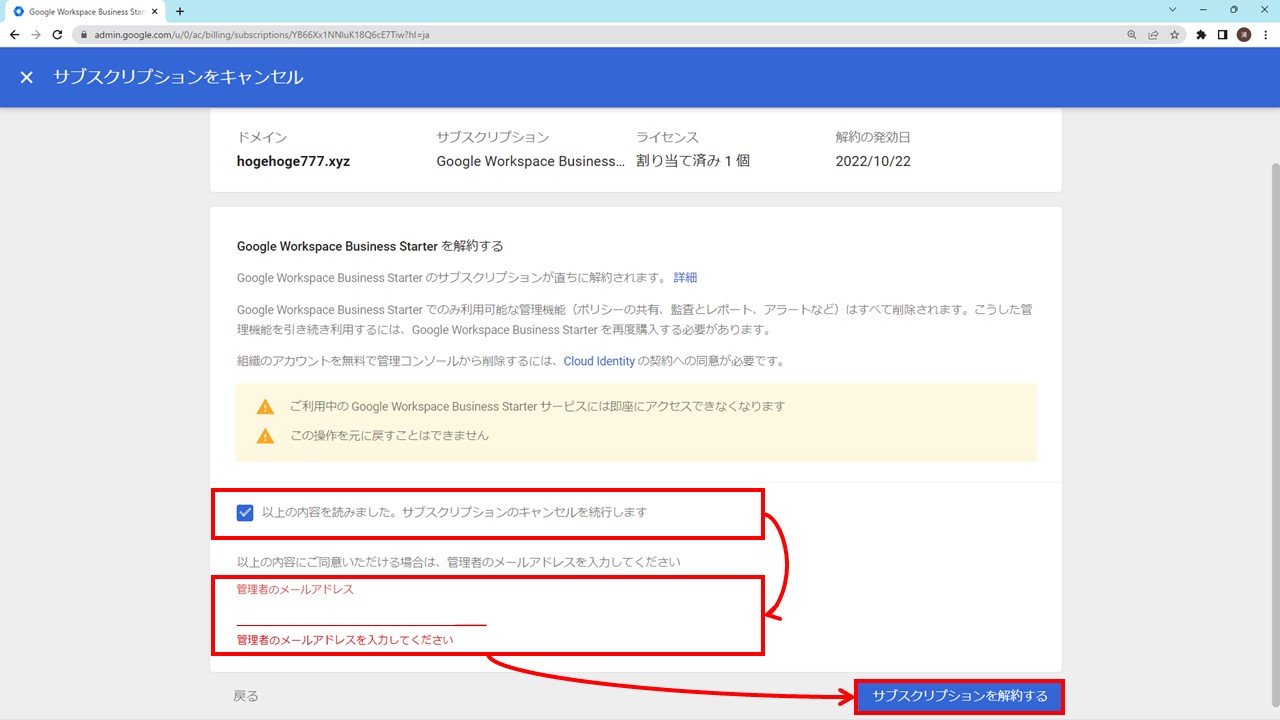
解約時の注意事項を読んだ上で「サブスクリプションのキャンセルを続行します」にチェックを入れ、Google Workspaceの管理者メールアドレスを入力したあと、「サブスクリプションを解約する」ボタンをクリックします。
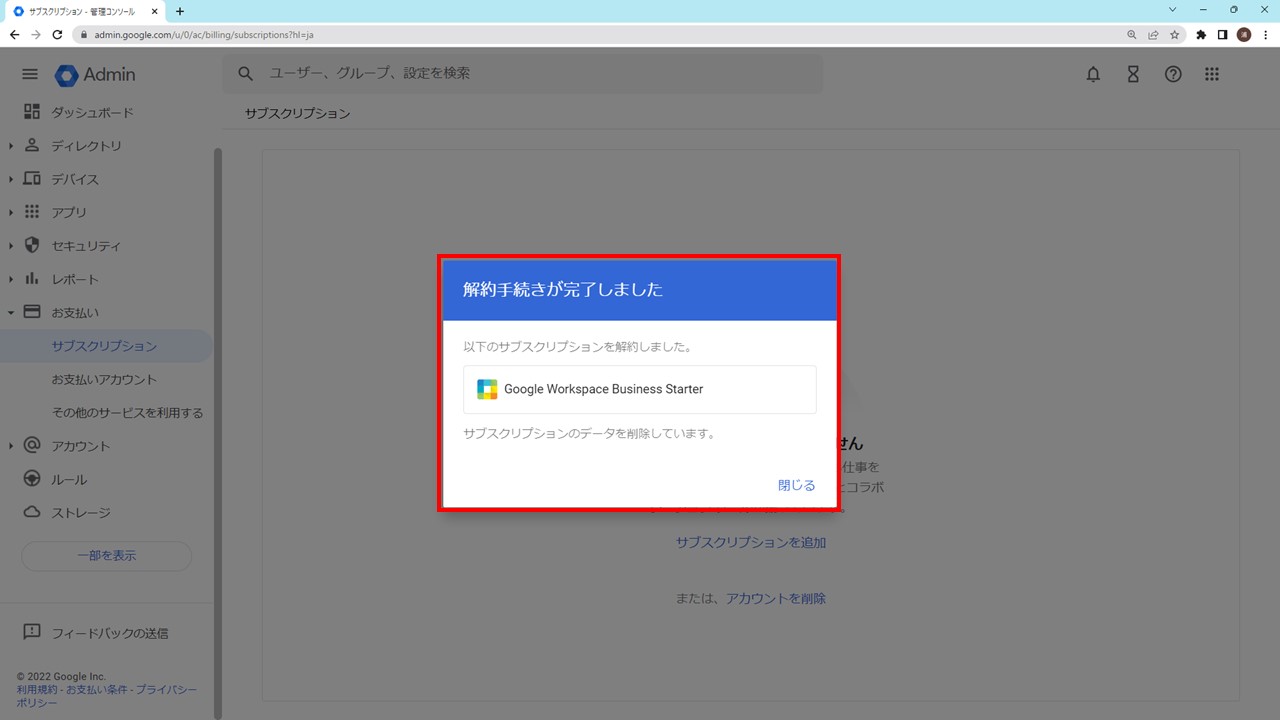
下図のように「解約手続きが完了しました」と表示されたら、解約手続きは完了です。
Google Workspaceアカウント削除方法
本章では、サブスクリプションを解約したあと、Google Workspaceアカウントも削除したい方に向けてアカウント削除手順を紹介します。
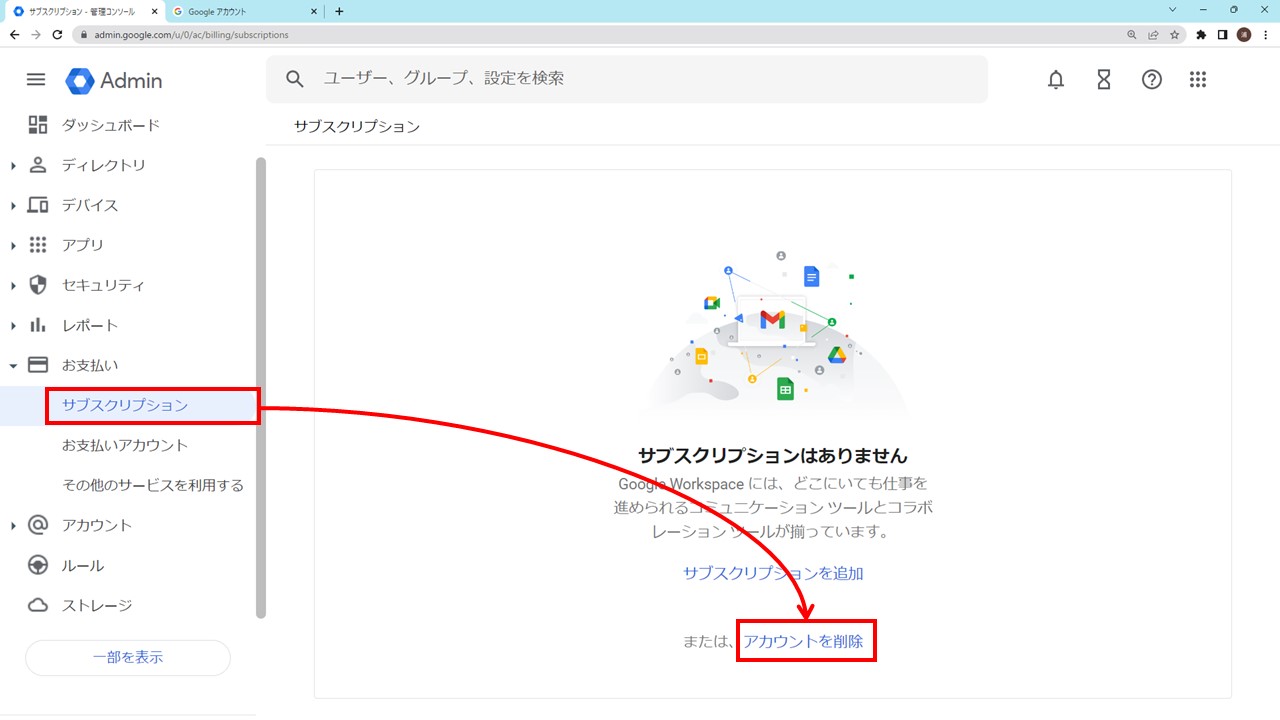
前章と同じようにGoogle Workspace管理画面にログインし、下図のとおり「支払い」→「サブスクリプション」→「アカウントを削除」リンクをクリックします。
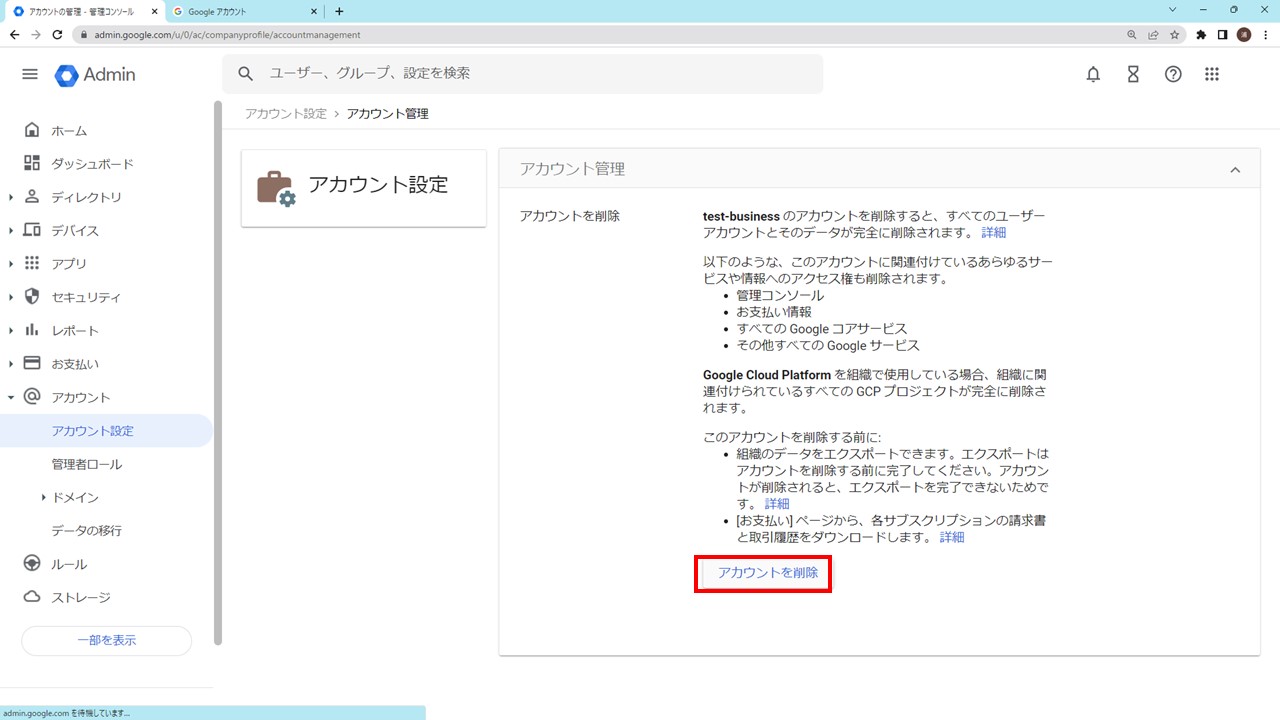
下図の画面になるので、アカウント削除時の注意事項を確認した上で、「アカウントを削除」リンクをクリックします。
下図のようなポップアップが表示されるので、再度注意事項を確認の上、「組織のアカウントの削除を続行します」にチェックを入れ、「アカウントを削除」ボタンをクリックします。

無事Google Workspaceアカウントが削除されると、下図のホーム画面になります。
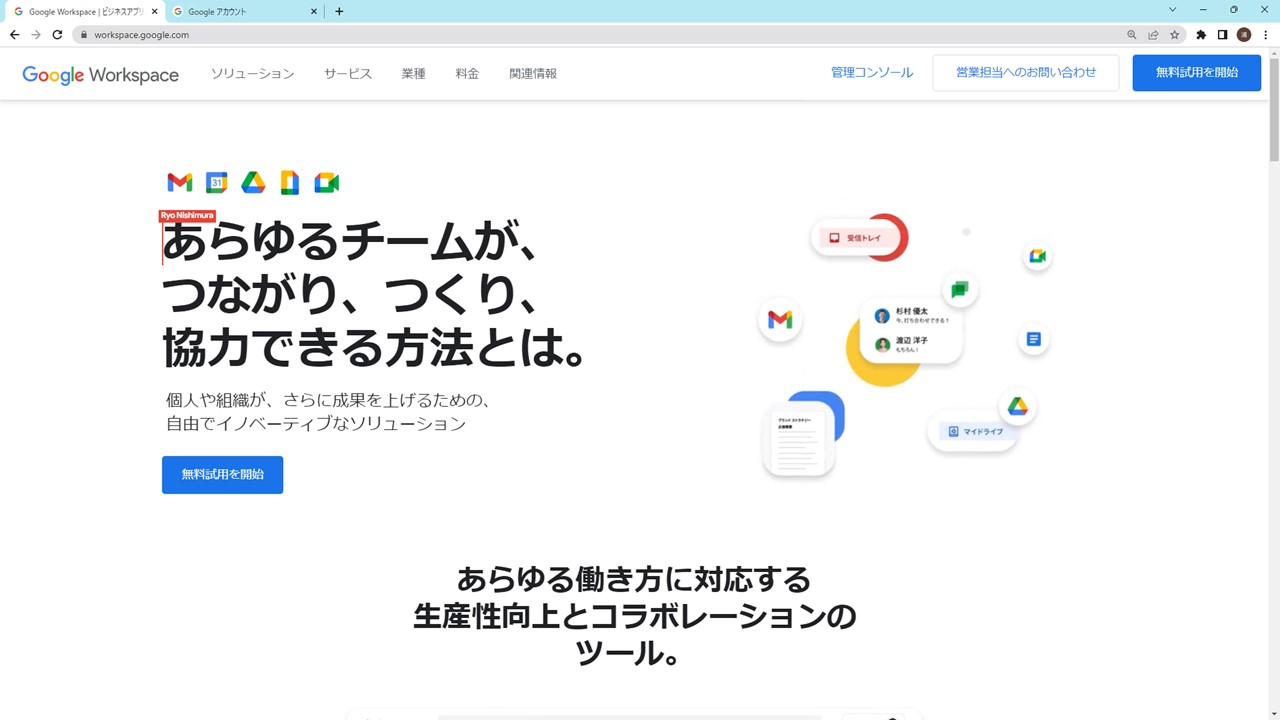
これでGoogle Workspaceアカウントも無事削除できました。
お名前.comでGmail用DNS MXレコードを削除
本章では、お名前.comで独自ドメインを取得し、GoogleのGmailで独自ドメインのメールアドレスを使っていた方に向けて、お名前.com上で設定していたDNSのMXレコードを削除する手順を紹介します。
お名前.comで独自ドメインを取得していない方は読み飛ばしてください。
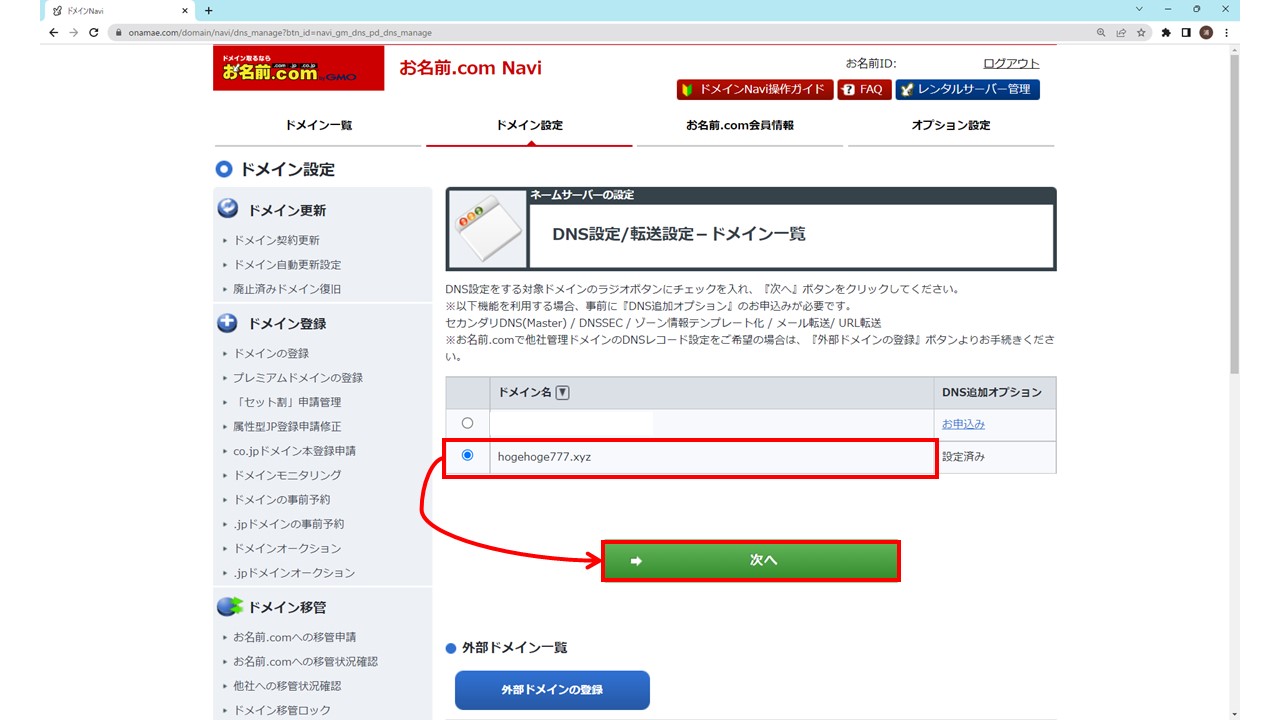
まずは、お名前.comにログインし、「ネームサーバーの設定」→「ドメインのDNS設定」をクリックします。

下図の画面になるので、該当ドメイン名を選択し、「次へ」ボタンをクリックします。
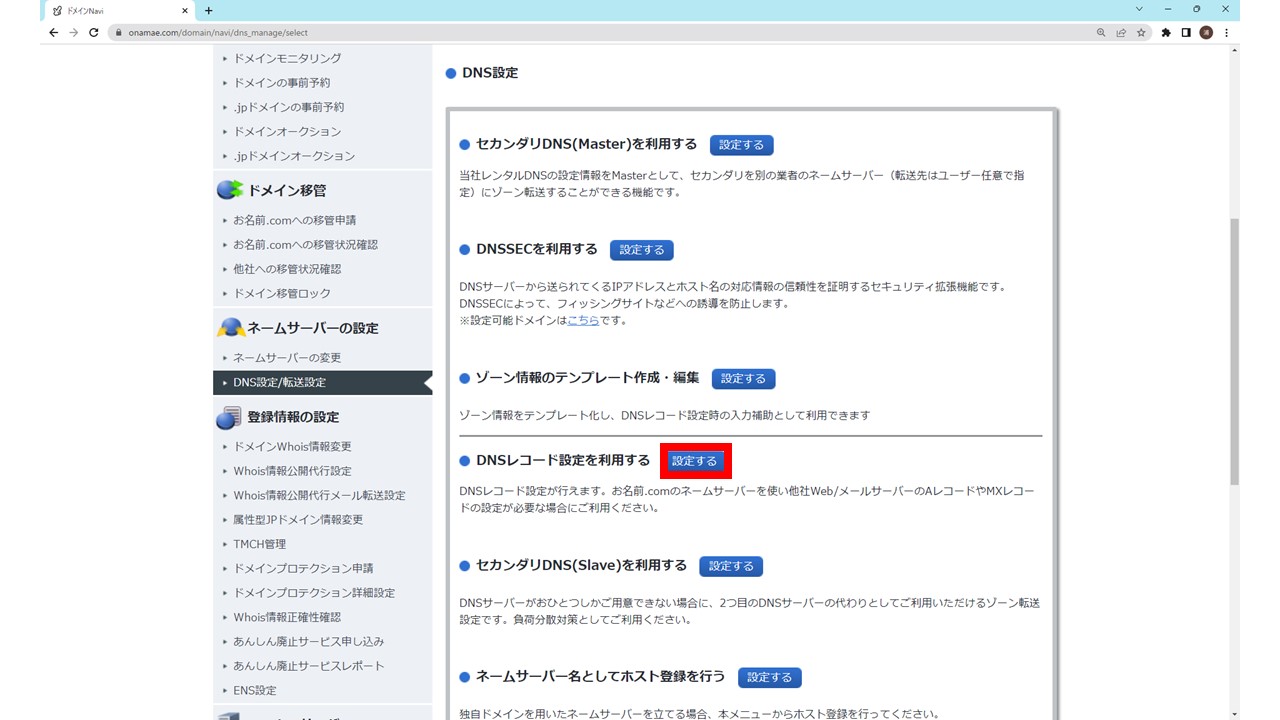
次に下図のように「DNSレコード設定を利用する」項目の「設定する」ボタンをクリックします。
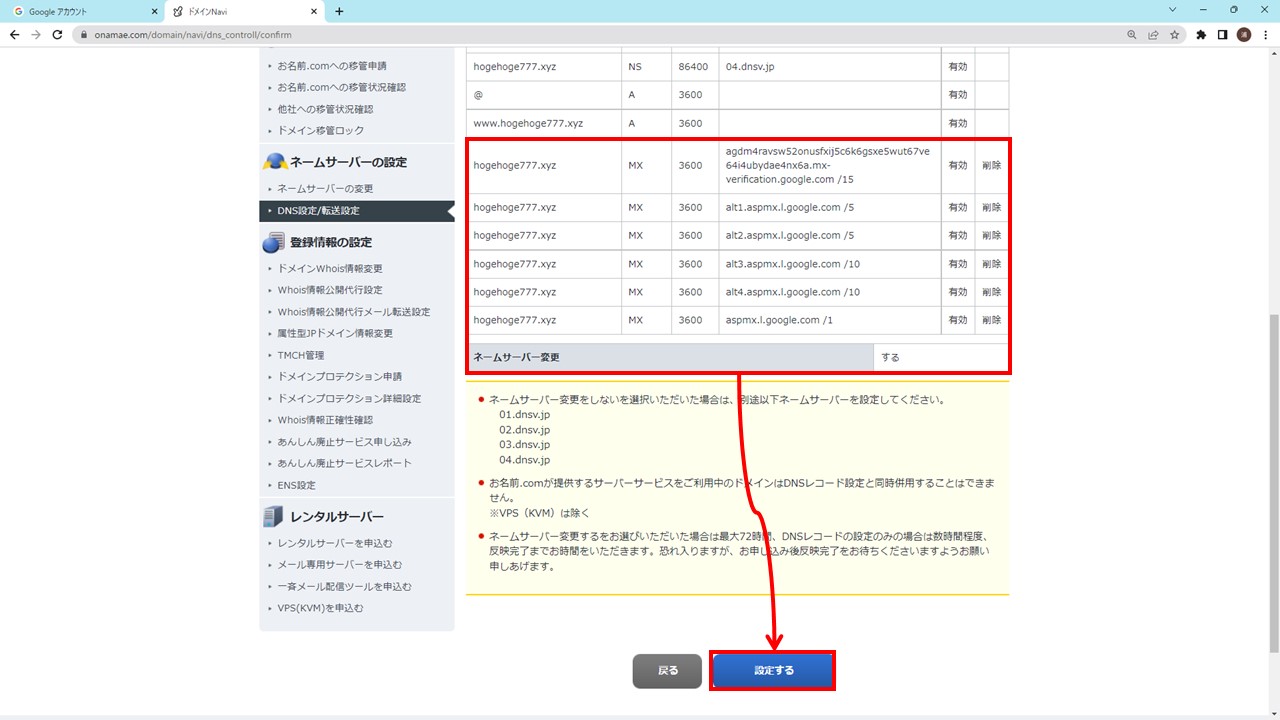
下図のようにGoogleのGmailを使うために設定していたDNSのMXレコード6個を削除対象としてチェックを入れます。

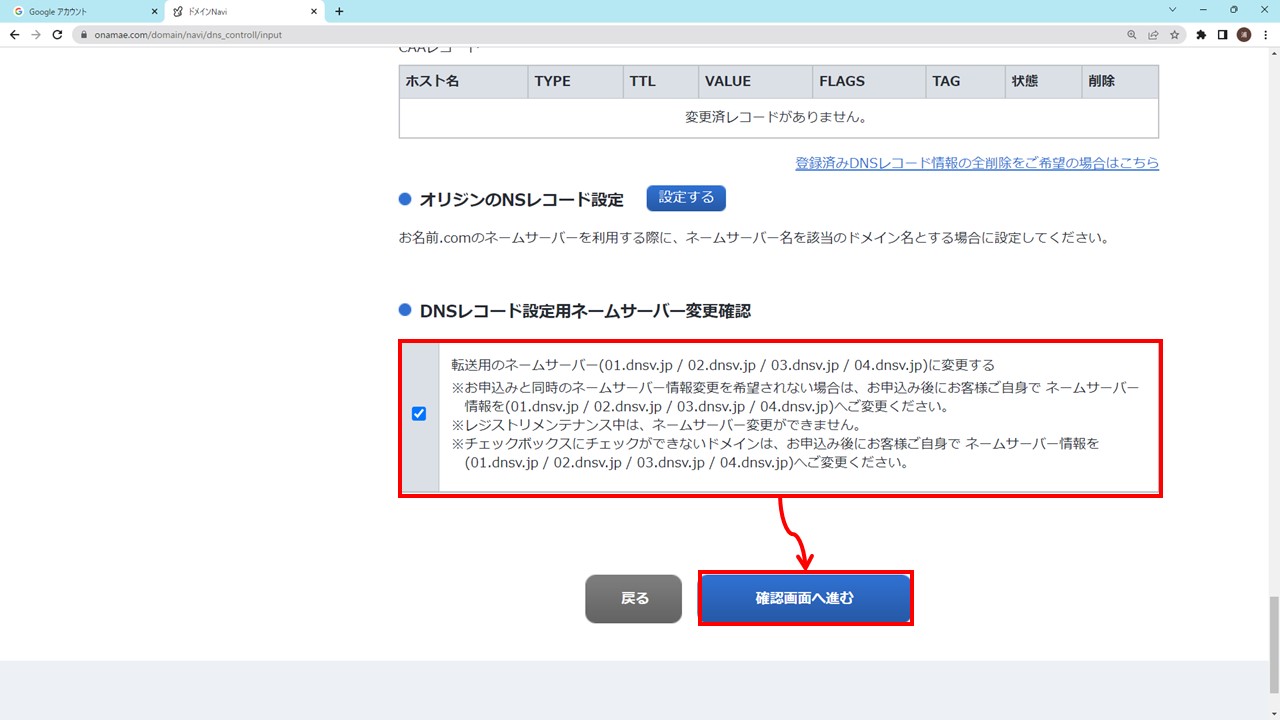
「DNSレコード設定用ネームサーバー変更確認」欄にチェックを入れ、「確認画面に進む」ボタンをクリックします。
下図の画面が表示された場合は、「設定しない」ボタンをクリックします。

次に下図の確認画面になるので、削除対象のレコードを再確認した上で、「設定する」ボタンをクリックします。
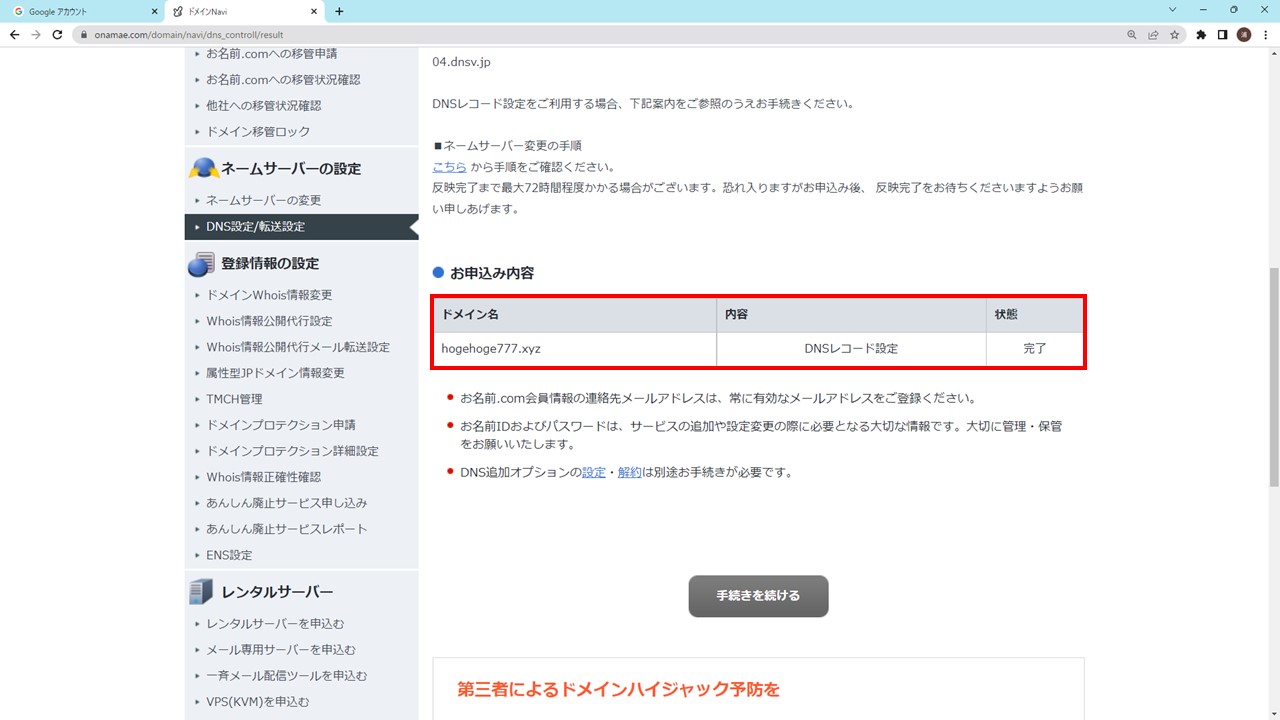
DNS設定の完了を示す画面になれば、DNSレコードの削除設定も完了です。
まとめ
いかがでしたでしょうか。
Google Workspaceのサブスク解約手順をなるべく多数の図解で解説してきました。
いざ解約・キャンセルしたいときに手順に戸惑ったときは、本記事を参考にして頂ければと思います。
【関連記事】
【TIPS】お名前.com独自ドメインのメールアドレスをGmailで扱う手順(Google Workspace連携編)